

Came across the site Instructables today,
and if you're willing to sift through to find the gems,
there is a lot of inspiration to be found.
I could hardly pull myself away, and these were some of my favorites.


 Put a little paper-heart-cutout on her camera lens,
 and turned the lights of NYC into hearts! So cute. I have a feeling that if I did that, it wouldn't turn out quite as amazing, but I want to try it anyway...and maybe I will...because guess what??? I'm heading to NYC in the morning! yay hooray! I'm so excited. I'll be there for one week, I've never been and I just love new adventures. :)


 Bakerella pours the chocolate over hers, but I wasn't able to do that very well so I just dipped mine with chopsticks.
 So here's what you need:
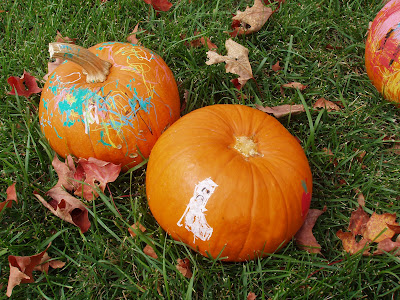
 I've long been a fan of painting Halloween pumpkins as opposed to carving them. I like how carved ones looks, but I find them so tedious, and mine rarely turn out how I want them to. So I very much admire people who can successfully carve them. These pumpkins were done by my nieces and nephews. Aren't they adorable? The little monster and ghost that my niece did are so creative and cute. And look at the pumpkin on the left—my nephew is the next Jackson Pollock!
 The kids loved painting the pumpkins and my mom got these paint markers for them to use. Makes decorating pumpkins so easy! Not to mention much less messy than carving, or using paints with paintbrushes.

 I just bought pearl beads from Robert's and superglued them onto bobby pins. For the pins with three pearls, I glued the beads together first and then onto the bobby pin. Wish I had pics of the process to show you, and actually I did, but lost them somewhere in the abyss of files and pictures that is my computer. At first I was reluctant to use beads because I wanted pearls that didn't have holes, but it turned out great. You don't even notice. Oh, and they definitely didn't take hours, so it was worth it after all.
 The greatest thing about these really thick canvases is the visual interest you can add by letting the picture spill over the edges. Plus, as soon as you're tired of a design, you can just repaint them! This is already my second coat on these ones.
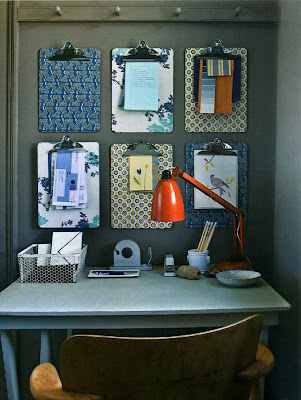
 It was a fun project that added a nice touch to my workspace!
 If you don't have a good bag to put your groceries in, this is a cute and very inexpensive idea from Martha Stewart on how to make your own out of a t-shirt! I totally love it. Here is the tutorial, or if you're a more visual person you can watch the video on how to make it on her website.

 You can spice up presents with them, make cute hair pins, or any other thing you can think of! I love it. You can go here to get the tutorial on how to do it. (This is the best way I could figure out to get PDF files to you all, it'll take you to another page, and then just click buttontop brads...and it also seems to work best in Firefox) Enjoy!
 If you have a hard time getting this PDF, let me know and I'd be happy to get it to you some other way. Thanks again to paint in my hair for sharing!
